
5 Common Rendering Mistakes and How to Fix Them
Rodolfo Islas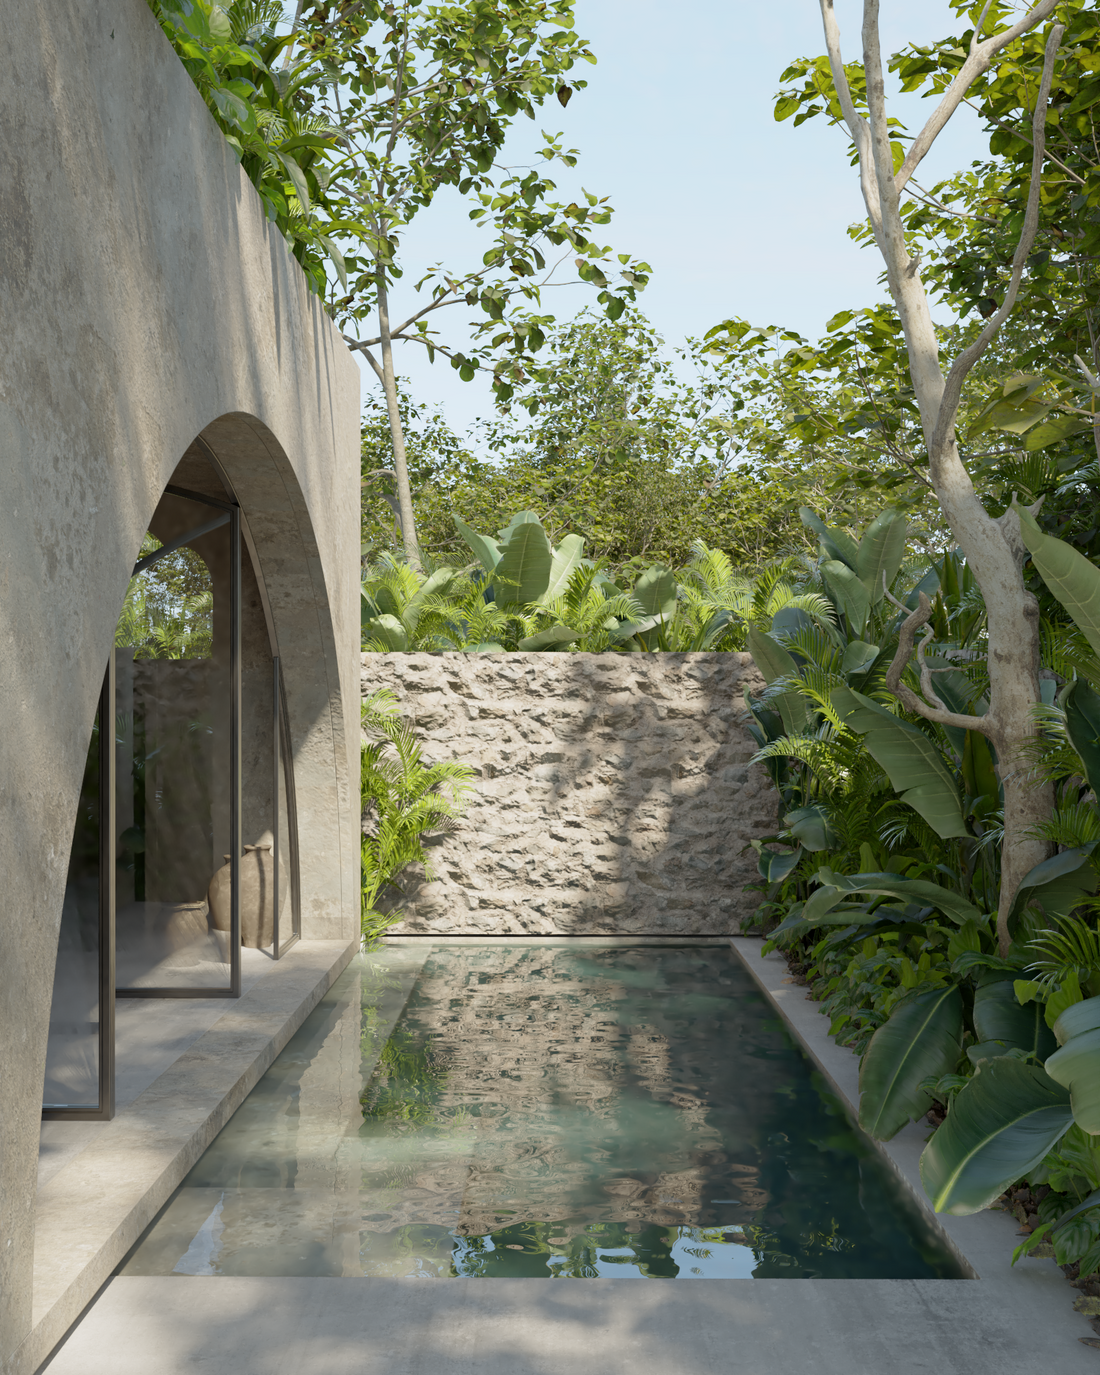
Why Does Your Render Not Look Photorealistic?
If you've ever worked on a render and, when comparing it to professional images, noticed a lack of realism, you're probably making some common mistakes. 3D rendering is a combination of technique, art, and optimization, and small details can make the difference between an amateur and a professional result.
In this article, we'll explore 5 mistakes that could be ruining your renders and how to fix them. Plus, if you want to improve your workflow and create high-quality images, we'll recommend some rendering courses that can accelerate your learning.
1️⃣ Do Not Use Visual References
One of the most common mistakes beginners make is trying to create a render from scratch without consulting references. Realistic design doesn't emerge from nowhere , but from observing and studying images, photographs, and other professional renders.
❌ What happens if you don't use references?
- Materials may look unrealistic or lack proper textures.
- Lighting may not match what happens in the real world.
- The composition of the scene may lack visual balance.
✅ How to fix it?
- Before you begin, look for reference images on Pinterest, Behance, or ArchDaily.
- Analyze how other designers handle lighting and materials.
- If you can, observe real spaces and notice details like reflections, textures, and shadows.
2️⃣ Not Applying Composition Rules
Rendering isn't just about positioning a camera and hitting "render." Framing and composition play a crucial role in the visual quality of your image.
❌ Common mistakes in composition:
- Place the camera randomly, without considering focal points.
- Do not use visual rules such as the Rule of Thirds or the Golden Ratio .
- Not thinking about the visual path of the image (where the viewer directs his gaze).
✅ Solution:
- Use the Rule of Thirds : Divide the image into a 3x3 grid and place the main elements at the intersections.
- Experiment with different camera angles to get more interesting perspectives.
- Avoid placing cut or out-of-proportion objects at the edges of the image.
3️⃣ Neglecting Lighting
Lighting is one of the most important aspects of a render. Poor lighting can make your scene look flat or unrealistic.
❌ Most common lighting mistakes:
- Use a single light source without creating shadows or contrasts.
- Not taking advantage of natural and artificial lighting together.
- Not adjusting the intensity and color temperature values correctly.
✅ How to improve the lighting of your renders:
- Use HDRI or well-positioned light sources for realistic shadows.
- If you are working with Corona Renderer or V-Ray , experiment with the direction of the sun to create more depth.
- Indoors, it combines natural light with strategically placed artificial light points.
4️⃣ Use Low-Quality Free Resources
While it's tempting to download free models and textures, these can limit the quality of your render if they're not of good resolution or have geometry errors.
❌ Problems with free models:
- Poor optimization (too many polygons or too little detail).
- Low-resolution textures, resulting in blurry images.
- Lack of PBR materials (which respond well to light and reflections).
✅ Alternative:
- Invest in professional models and textures on platforms like 3D Sky or Poliigon .
- If you're on a budget, look for well-optimized models and replace materials with quality textures.
- Build your own library of reusable assets to improve efficiency in every project.
5️⃣ Not Caring for Color Harmony
A common mistake is choosing colors and materials without considering the visual harmony of the scene. Combining the wrong tones can make a rendering look unbalanced or unattractive .
❌ What mistakes are made in color?
- Use saturated colors without any relationship to each other.
- Not paying attention to the psychology of color and its impact on the environment.
- Apply textures without correcting their scale or tone.
✅ Solutions to improve color harmony:
- Use tools like the Adobe Color Wheel to create balanced color combinations.
- Adjust the tones of materials and textures so they blend well into the scene.
- Apply subtle distressing effects and variations to materials to prevent them from looking flat.
The Key to Improving Your Renders: Training and Practice
While correcting these mistakes will make your renders look better, the key to progressing quickly is to combine consistent practice with structured learning .
Rendering courses will help you understand not only the technical side (configuring render engines like V-Ray, Corona, or Lumion), but also the artistic side (composition, lighting, materials).
By taking a course, you will be able to:
✅ Learn how to optimize rendering time.
✅ Create photorealistic materials from scratch.
✅ Improve the composition of your scenes.
✅ Elevate your renders with professional post-production.
Are You Ready to Improve Your Renders?
If you want your renders to look more realistic and professional, avoid these mistakes and keep learning . Investing in your training is the best way to improve faster and achieve high-level results.